The Olympus PEN E-PL9: How to use your lenses
I recently headed off the Amalfi Coast, Italy armed with the brand new Olympus PEN E-PL9. I captured my trip with the new PEN and experimented with the way that the lenses can work best. The new EPL-9 release boasts some incredible new features, I think my favourite is the 4k video; the clarity and sharpness is second to none. I have always used flash with my Olympus PEN cameras, I just really love the way it looks, and the new E-PL9 has this amazing, retro pop up flash so theres no need to attach an external one! The other thing I really love is the new updated Olympus image processor, which is now TruePic VIII, it was easy for me to see a difference in the image quality in comparison to my E-PL8, and the way it works in low light conditions, I always found with my E-PL8 it would struggle to focus. So lets get into it, I took a few lenses with me, to make sure I could capture everything beautifully, and I've together an easy to follow tutorial of which lens does what!


Kit lens
An underrated lens when it comes to the pen. It's an amazing lens, and is super sharp. I find it the perfect lens for a simple shot.
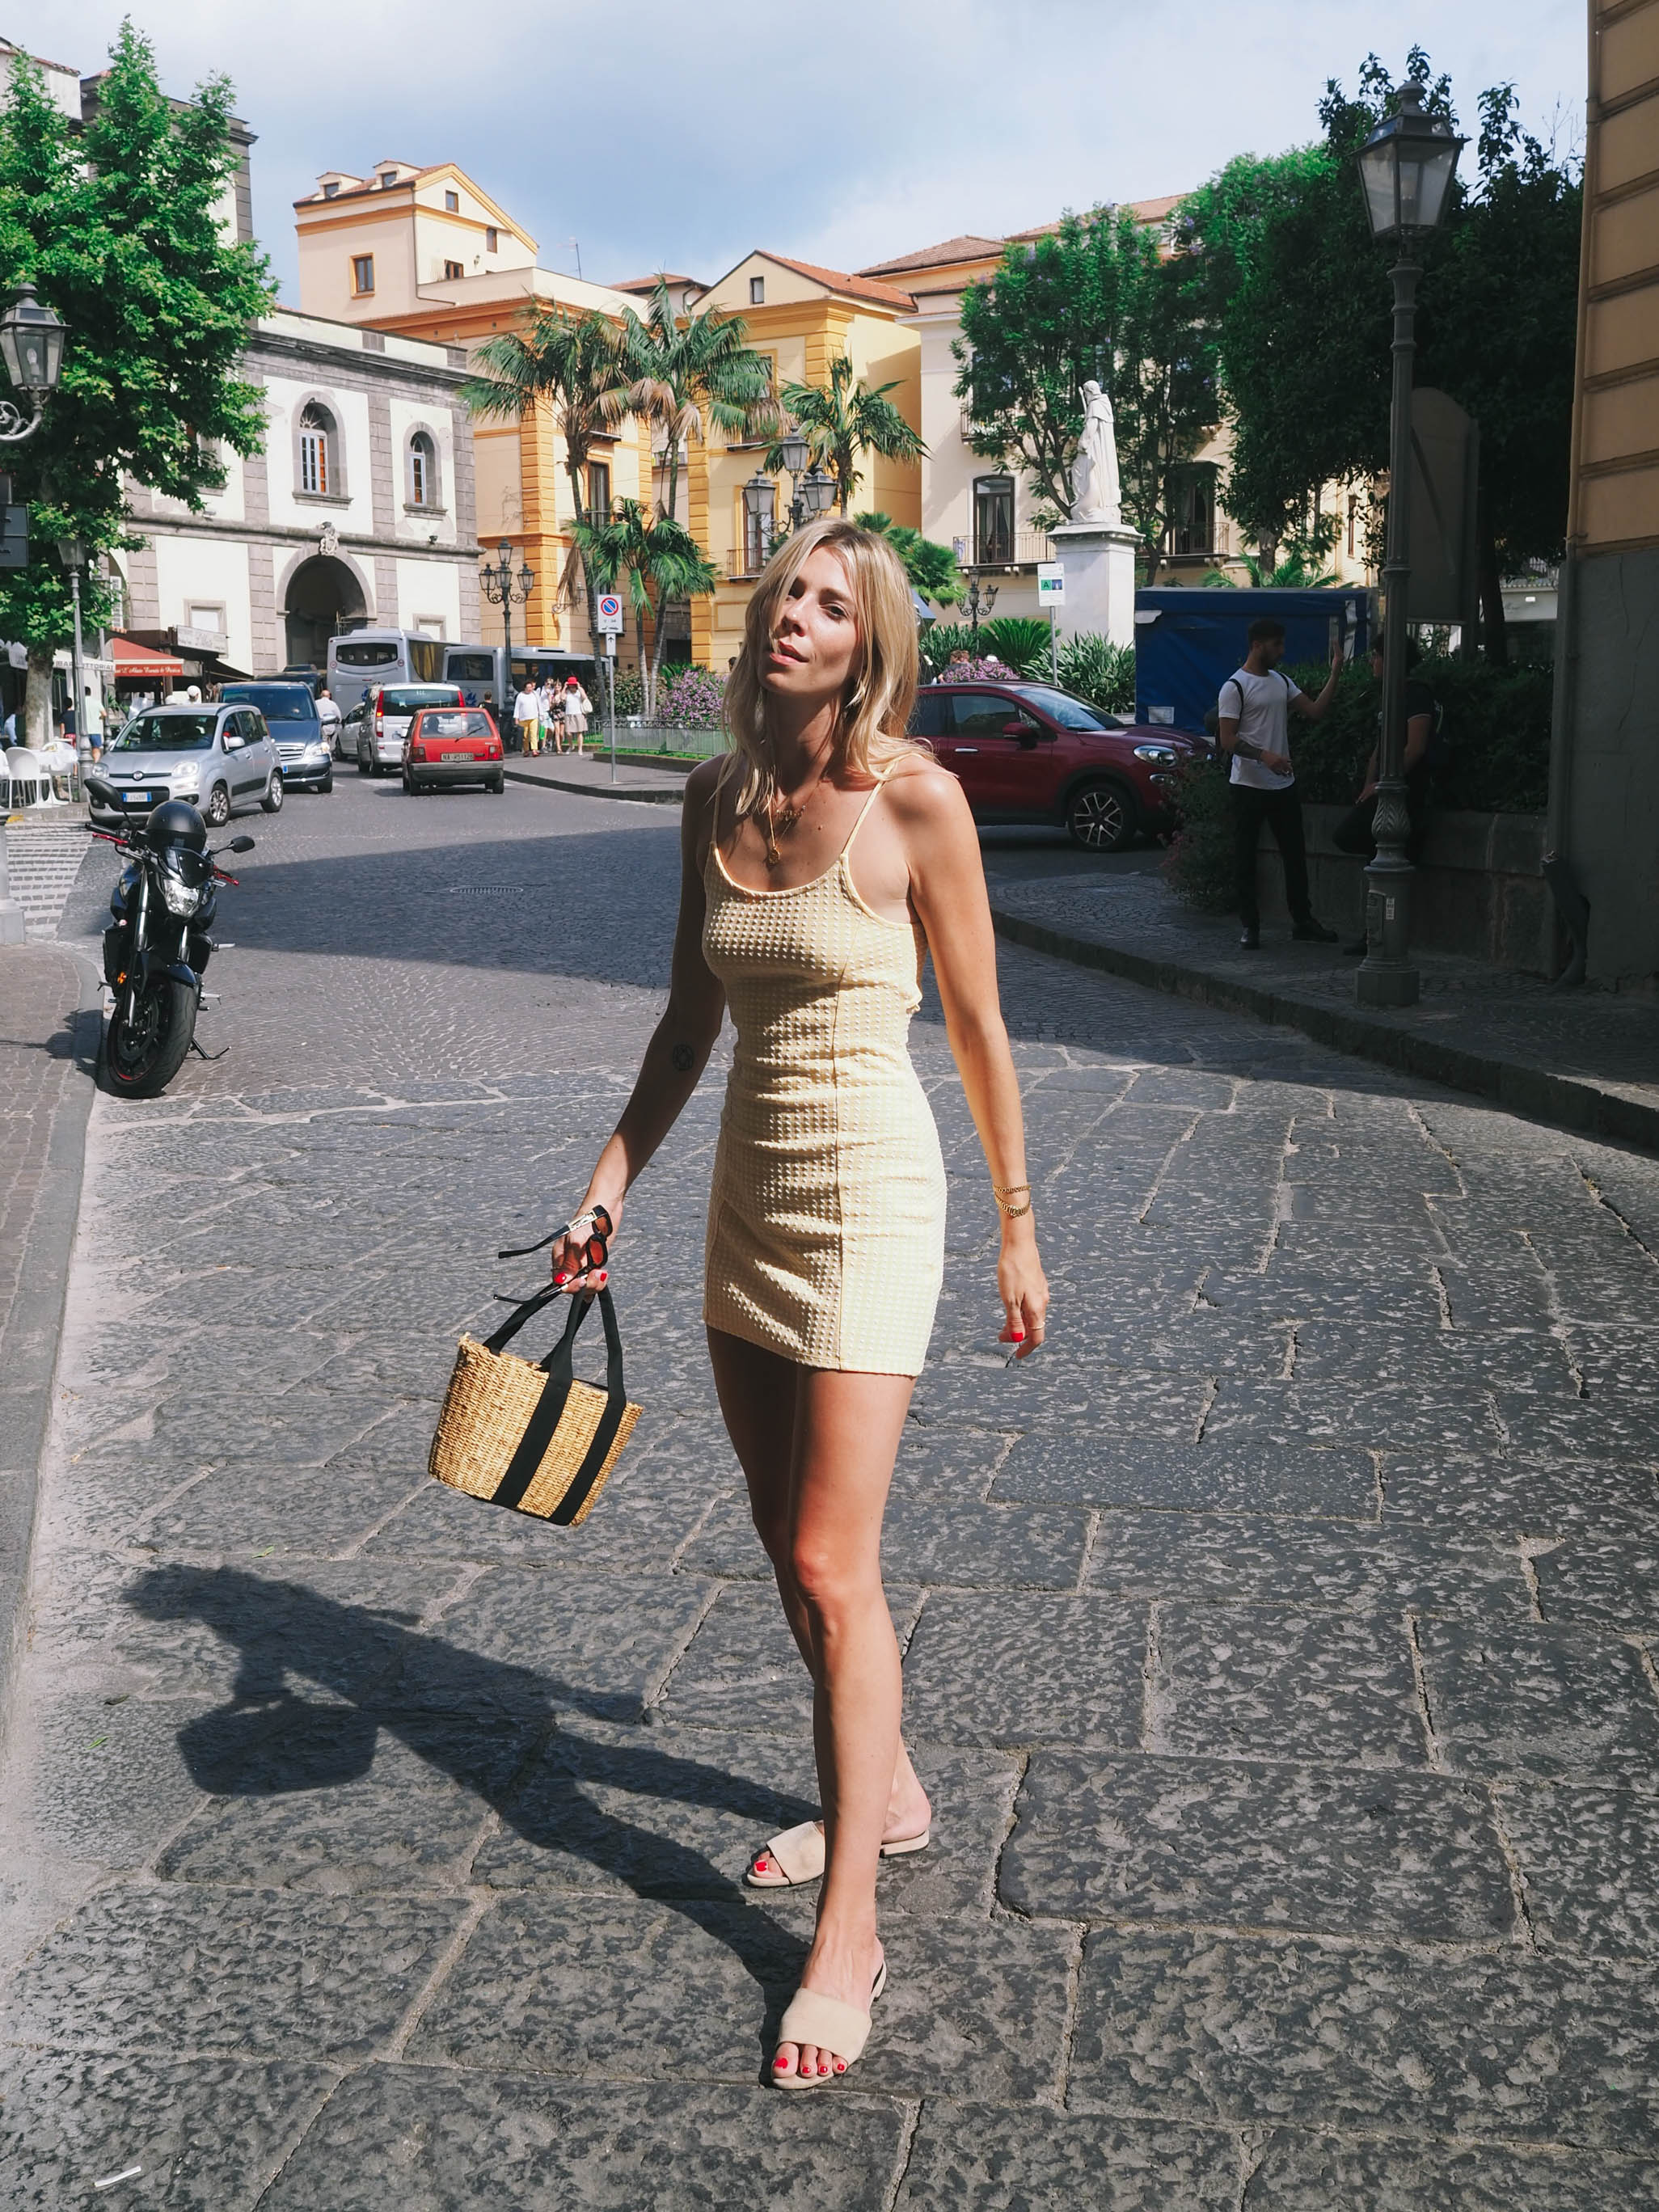


17mm
This is my most used lens. I love the relaxed feel it gives, whilst still giving you such incredible quality. I use this to shoot for instagram images and blog posts. I find for fashion images, I prefer a 'fuss-free' image with only small amounts of depth of field, whilst not wanting to compromise on the quality of my images. This is the perfect lens.


These two images show just how close you can get with the 30mm lens, and the level of detail you can achieve.
30mm
The macro lens. Absolutely amazing for close ups. When using this lens, switch the camera to SCN mode and choose 'close ups' on the screen- that'll give you the best out of this lens. You can get very, very close with this lens and the level of detail you can capture is incredible.


These images show the 40mm Vs. the 150mm lens with the same shot, but different perspective. You can see how the background changes, and the level of detail you can get.
40-150mm
This lens is used for compressing perspective. As an example, set up a shot where you're the focus and shoot it at 40mm, then shoot the same image at 150mm, you will see the focus change, and the background come closer. You will need to shoot this with plenty of distance between you and the photographer!
You can shop the Olympus PEN E-PL9 camera and kit here, with 10% off using code: LDH10X
Thank you so much for reading as always and I hope you've found this helpful! Ask me anything you like and I can try my best to answer for you. xx